Key Takeaways
| Key Takeaway | Description |
| HDMI output port cannot be transformed or changed into an input port. | It’s not possible to change your laptop’s HDMI output port into an input port without replacing its hardware. |
| Use an HDMI switcher a capture card or dedicated software to change HDMI output to input on a laptop. | These are some of the most common methods for changing HDMI output to input on a laptop. |
| Set your HDMI output as the default. | This is another way to change HDMI output to input on a laptop. |
Introduction
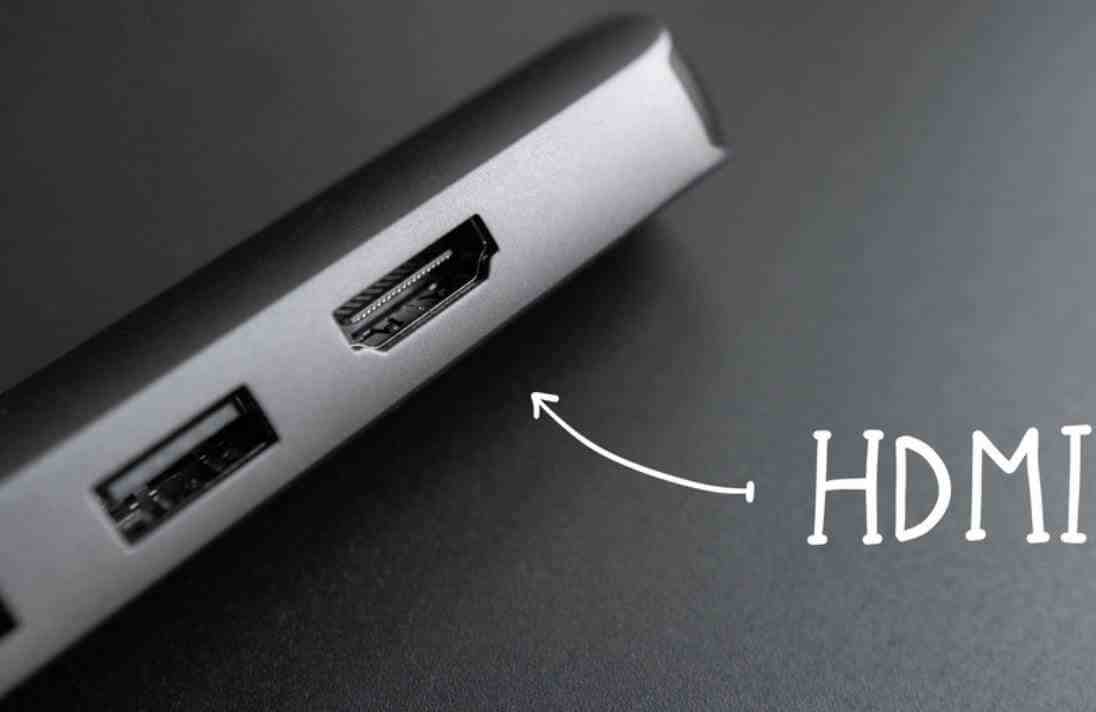
HDMI (High Definition Multimedia Interface) is a digital interface that transmits high-quality audio and video signals between devices. It is commonly used to connect laptops to external displays such as monitors projectors and televisions. However sometimes you may need to use your laptop as an external display for another device. In this article we will discuss how to change HDMI output to input on a laptop.
Methods for Changing HDMI Output to Input on a Laptop
| Method | Description |
| Use an HDMI Switcher | A device that allows you to connect multiple HDMI devices to a single HDMI port. |
| Use a Capture Card | A device that allows you to capture video signals from external devices and display them on your laptop screen. |
| Use Dedicated Software | Some laptops come with dedicated software that allows you to change HDMI output to input. |
| Set Your HDMI Output as Default | You can also set your HDMI output as default on your laptop. |
Methods for Changing HDMI Output to Input on a Laptop
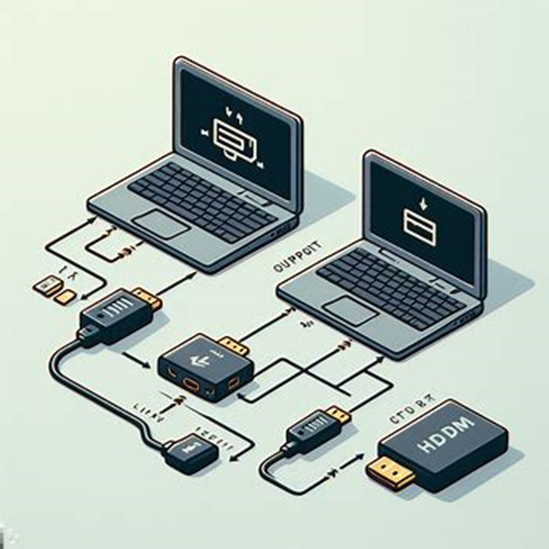
There are several ways to change HDMI output to input on a laptop. Here are some of the most common methods:
Method 1: Use an HDMI Switcher
An HDMI switcher is a device that allows you to connect multiple HDMI devices to a single HDMI port. To change HDMI output to input on a laptop using an HDMI switcher follow these steps:
- Connect the switcher to the input port of your laptop.
- Connect the desired device to the input port of the switcher.
- Connect the laptop to the output port of the switcher.
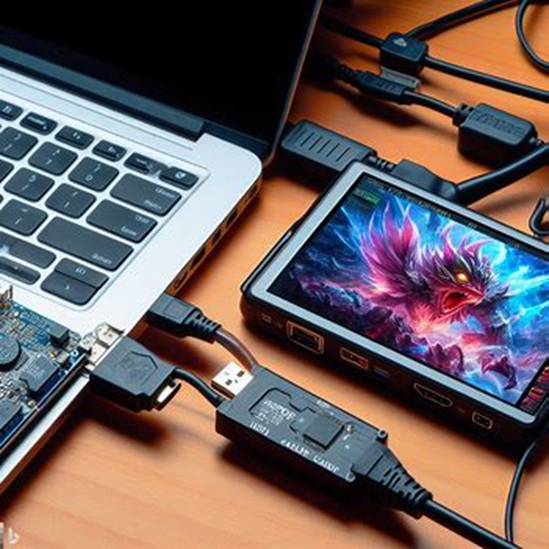
Method 2: Use a Capture Card
A capture card is a device that allows you to capture video signals from external devices and display them on your laptop screen. To change HDMI output to input on a laptop using a capture card follow these steps:
- Insert the first HDMI cable into the HDMI IN port of the USB capture card.
- Insert the second HDMI cable into the HDMI OUT port of the USB capture card.
- Connect the second end of the second HDMI cable into your laptop’s HDMI IN port.
Method 3: Use Dedicated Software
Some laptops come with dedicated software that allows you to change HDMI output to input. To use this software follow these steps:
- Open the dedicated software on your laptop.
- Follow the instructions provided by the software.
Method 4: Set Your HDMI Output as Default
You can also set your HDMI output as default on your laptop. Here’s how:
- Right-click on the speaker icon on your taskbar.
- Select “Playback Devices”.
- Choose “Digital Output Device” or “HDMI Device” in the Sound Window.
- Click on “Set as Default”.
Here are five follow-up questions on the topic “How To Change HDMI Output To Input On Laptop”:
- What should I do if I can’t find the HDMI settings in my display settings on Windows 10?
If you can’t find the HDMI settings in your display settings on Windows 10 there are a few things you can try:
1. Check your hardware: Make sure that the HDMI cable is inserted correctly and all the connections are fully functional. Right-click on the volume icon on the taskbar select Playback devices and in the newly open Playback tab simply select Digital Output Device or HDMI. Select Set Default click OK. Now the HDMI sound output is set as default. [1]
2. Check the display settings: To check the display settings on your Windows 10 computer just press Windows + P and a list of display modes will appear on the right side of the screen. The provided display modes are: PC screen only Duplicate Extend and Second screen only. You can change the display settings according to your situation and you should be able to receive images and sound via HDMI port again if the display settings are configured to be correct. [2]
3. Troubleshoot your hardware and devices: Use the built-in Windows Troubleshooter to detect problems related to your hardware and devices including HDMI port. If any problems are detected just follow the onscreen instructions to fix them. After that you can check if the HDMI port not working issue is fixed. [2]
4. Update your graphics driver: Graphic device drivers play a major role in displaying content on your system. Any problem with the graphic drivers may not only cause HDMI not working on PC or laptop error but also cause multiple system errors. Updating your graphics driver may help fix the issue. [3]
5. Uninstall recently installed app/software: If you have recently installed any app or software it may be causing the HDMI not working issue. Uninstalling the recently installed app or software may help fix the issue. [3]
- How can I connect a second monitor to my laptop using an HDMI cable? [2]
To connect a second monitor to your laptop using an HDMI cable you will need the following:
1. A suitable monitor: Choose a monitor that is compatible with your laptop and has an HDMI input.
2. A power lead for your monitor: Make sure your monitor is plugged in and turned on.
3. An HDMI cable: Connect one end of the HDMI cable to your laptop’s HDMI output port and the other end to the HDMI input port on your monitor.
4. Separate keyboard and mouse: It is recommended to use a separate keyboard and mouse in this type of setup.
5. Power lead for your laptop: Make sure your laptop is plugged in and turned on.
Once you have all the necessary equipment follow these steps:
1. Connect the HDMI cable to your laptop’s HDMI output port and the HDMI input port on your monitor.
2. Turn on your laptop and monitor.
3. Right-click on your desktop and select “Display settings.”
4. In the Display settings select “Extend desktop” to use your second monitor as an extension of your laptop screen.
5. Adjust the resolution and orientation of your second monitor as needed.
6. You can now use your second monitor as an extended display for your laptop.
Note: If your laptop does not have an HDMI output port you may need to use a different type of cable or adapter to connect your laptop to your monitor.
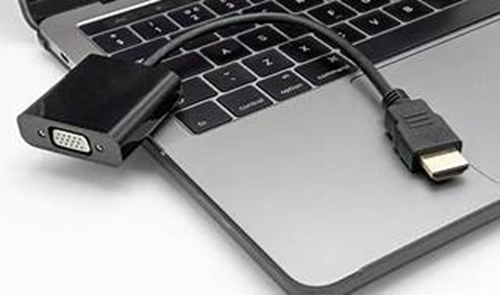
- Do I need an HDMI-to-VGA adapter or a VGA-to-HDMI adapter to connect my old VGA monitor to my laptop’s HDMI port? [3]
If you want to connect an old VGA monitor to your laptop’s HDMI port you will need an HDMI-to-VGA adapter. This is because your laptop outputs an HDMI signal that needs to be converted to VGA. Here are some options for HDMI-to-VGA adapters:
1. FOINNEX VGA to HDMI Adapter Cable: This adapter cable offers a convenient way to connect an old style PC notebook or desktop computer with VGA output to a new TV or monitor with HDMI input. [1]
2. Cable Matters HDMI to VGA Adapter: This adapter is an ideal solution for connecting a computer or other HDMI source to a display with full HD video. It is lightweight and portable making it easy to carry in your laptop bag. [2]
3. StarTech.com HDMI to VGA Adapter: This active monitor converter cable offers a compact and portable solution for connecting a high-definition VGA display. It does not require an external power source. [5]
You can find HDMI-to-VGA adapters at electronics stores or online retailers like Amazon or Best Buy. Make sure to choose an adapter that is compatible with your laptop and monitor.
- How can I switch to HDMI on my Windows 11 laptop? [4]
To switch to HDMI on your Windows 11 laptop you can follow these steps:
1. Connect the HDMI cable to your laptop’s HDMI output port and the HDMI input port on your monitor.
2. Turn on your laptop and monitor.
3. Your laptop should automatically detect the HDMI connection and switch to the external display. If it doesn’t try pressing the Windows key + P to open the Project menu.
4. In the Project menu select “Extend” to use your second monitor as an extended display for your laptop.
5. Adjust the resolution and orientation of your second monitor as needed.
If your laptop is not detecting the HDMI connection you can try the following solutions:
1. Clean your HDMI port: Use a small brush to clean your HDMI port and wipe it with a cloth. Then plug in the HDMI cable and check if the issue still persists. [6]
2. Check your display settings: Right-click on your desktop and select “Display settings.” Make sure that your second monitor is detected and configured correctly. [2]
3. Update your graphics driver: Updating your graphics driver may help fix the issue. Go to Device Manager expand Display adapters right-click on your graphics card and select “Update driver.”[1]
4. Check your HDMI cable: Make sure that your HDMI cable is not damaged or faulty. Try using a different HDMI cable to see if that resolves the issue. [5]
If none of these solutions work you may need to contact your laptop manufacturer or a professional technician for further assistance.
- What are some troubleshooting steps I can take if I’m having HDMI connection problems with my laptop or other devices? [5][6]
Here are some troubleshooting steps you can take if you’re having HDMI connection problems with your laptop or other devices:
1. Check your HDMI cable connection: Ensure that all HDMI connections are seated firmly and in the correct orientation of their corresponding HDMI ports. Try a different HDMI cable if possible. [5][6]
2. Try a different HDMI input: If you have multiple HDMI inputs on your TV or monitor try connecting your device to a different input to see if that resolves the issue. [6]
3. Restart and reconnect your devices: Disconnect all your HDMI cables from your ports. Shut down all your devices (your computer monitor TV) and unplug them from the power source. Wait for a few minutes and then reconnect all the cables and power on the devices. [3][6]
4. Set HDMI device as default device: Right-click on the volume icon on the taskbar select Playback devices and in the newly open Playback tab simply select Digital Output Device or HDMI. Select Set Default click OK. Now the HDMI sound output is set as default. [6]
5. Update or reinstall your graphics driver: Graphic device drivers play a major role in displaying content on your system. Any problem with the graphic drivers may not only cause HDMI not working on PC or laptop error but also cause multiple system errors. Updating or reinstalling your graphics driver may help fix the issue. [1][6]
6. Check for firmware updates: Check to see if there are any announced firmware updates for your HDMI source and home theater receiver (or even your TV) that may resolve this issue. [5]
7. Uninstall recently installed apps or software: If you’ve recently installed any app or software it may be causing the HDMI not working issue. Uninstalling the recently installed app or software may help fix the issue. [1]
8. Check your hardware: Check your hardware devices to ensure they are working properly. Damaged or corrupted hardware can easily cause an error in your HDMI experience. [2]
If none of these solutions work you may need to contact your device manufacturer or a professional technician for further assistance.